On Thursday, we began our newest Math unit - Geometry. We started by reminding ourselves about two-dimensional shapes and what makes them 2D.
We then talked about what the word 'figure' means and how it is a shape outlined by lines. We continued to talk about how we could describe a figure. In pairs, groups walked around the room pointing out different figures they could see (Examples: Bricks, light, clock, desk, blackboard, popsicle stick, job numbers, schedule cards). Once each pair found a figure, they had to describe what that figure looked like and then each pair shared their description with another pair and the whole class.
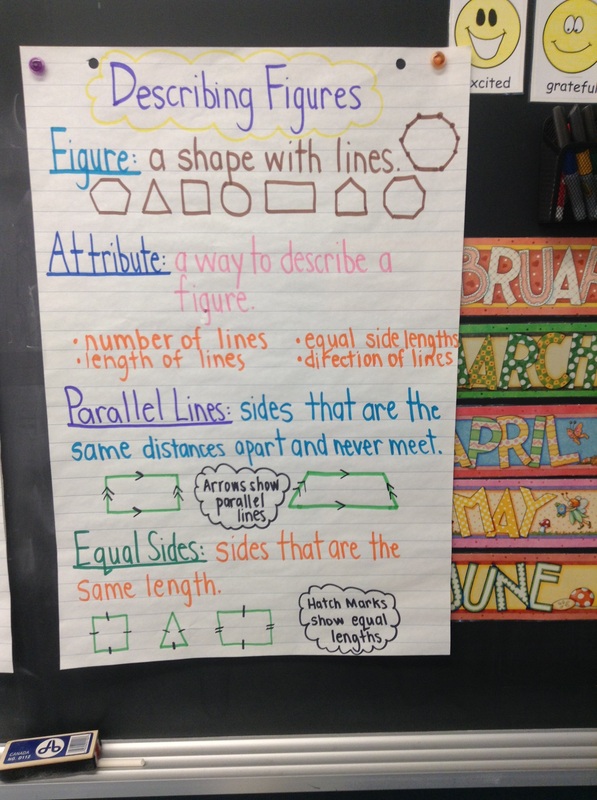
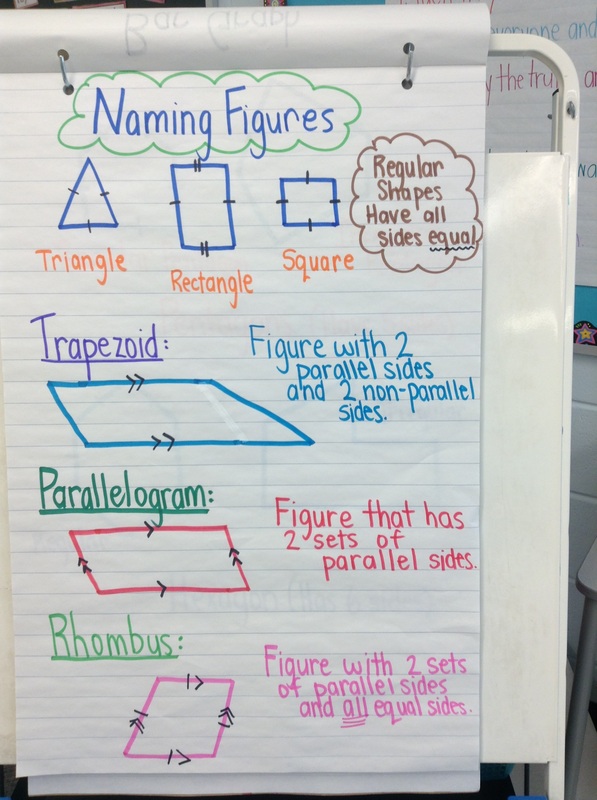
We used attributes to describe the figures we found around the classroom. We focused on the number of sides, the length of sides and direction of sides. Our newest word we learned from our lesson was the word parallel - we talked about what a parallel line was and tried to find figures that had parallel lines in them.
Below you can see our anchor charts with different attributes that we used to describe different figures.
We then talked about what the word 'figure' means and how it is a shape outlined by lines. We continued to talk about how we could describe a figure. In pairs, groups walked around the room pointing out different figures they could see (Examples: Bricks, light, clock, desk, blackboard, popsicle stick, job numbers, schedule cards). Once each pair found a figure, they had to describe what that figure looked like and then each pair shared their description with another pair and the whole class.
We used attributes to describe the figures we found around the classroom. We focused on the number of sides, the length of sides and direction of sides. Our newest word we learned from our lesson was the word parallel - we talked about what a parallel line was and tried to find figures that had parallel lines in them.
Below you can see our anchor charts with different attributes that we used to describe different figures.
| 
|
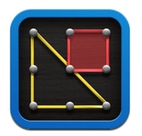
After we had our lesson and learned different ways to describe a figure - we put our new knowledge to work through a hands-on activity with the i-pads. We used a great free App called "Geoboards", which allowed students to create different figures and practice describing their figure using some of the new terms taught during the lesson.
Below you will find some pictures of students creating figures, using the i-pads!!
Below you will find some pictures of students creating figures, using the i-pads!!
 RSS Feed